The M1911A1 is part of my Namsofting Loadout. Brown plastic grips are actually historically accurate on 1911s from WW2 onwards, but I like to imagine my 1911 was in fact an upgraded personal item rather than standard issue.
I could have bought some mass produced wooden grips cheaper, but the wood on those things is usually some nasty crap which was never on a real piece. I selected American Black Walnut, which is authentic for the M1911 and a premium quality woodworking timber.
This post is part one of a two part post. In this post I will cover how I made the grips and in the next post I will cover checkering. Checkering is the gunsmithing term for the diamond grip pattern. I think the smooth grips are very nice as they show the wood grain pattern to full effect due to their smoothness and uniformity. Much of the grain effect will be lost with the checkering.
As usual for my posts, here is a picture of the finished grips fitted to the M1911A1...
 |
| The CO2 mag is not exactly authentic! :-/ |
 |
| Revised DXF in Solid Edge ST7 |
 |
| The most awesome CamBam |
 |
| A clean workshop is a safe workshop! *cough* |
As you can see there is still a lot of work to do on these grips to get them to a finished state. I finished cutting the grips out with a fret-saw and made this little jig to enable me to sand them on my belt sander without sanding my fingertips off (again!!!).
This little jig was made with 2 dowels and a board with similarly spaced holes. It enabled me to sand the grips while only sanding one knuckle bloody. Progress!!!
The sanding with a 400 grit belt really brings out the woodgrain.
I repeated the sanding on the other grip and test fit the grips to the pistol. They needed quite a bit of hand carving on the back face to make them fit the pistol correctly.
Two coats of Danish Oil really makes the wood-grain pop...
 |
| Before and After Danish Oil |
Here are the wood grips side by side with the old plastic ones...
You can see that the lustre has gone.
Finally, here is another picture with the grips fitted to the pistol..
I am very happy with the finished result, so much that I am really reluctant to checker them now. I think I will make a second set and keep whichever ones I like best.
Thanks for reading and lookout for part two, coming as soon as my checkering tools arrive. :)
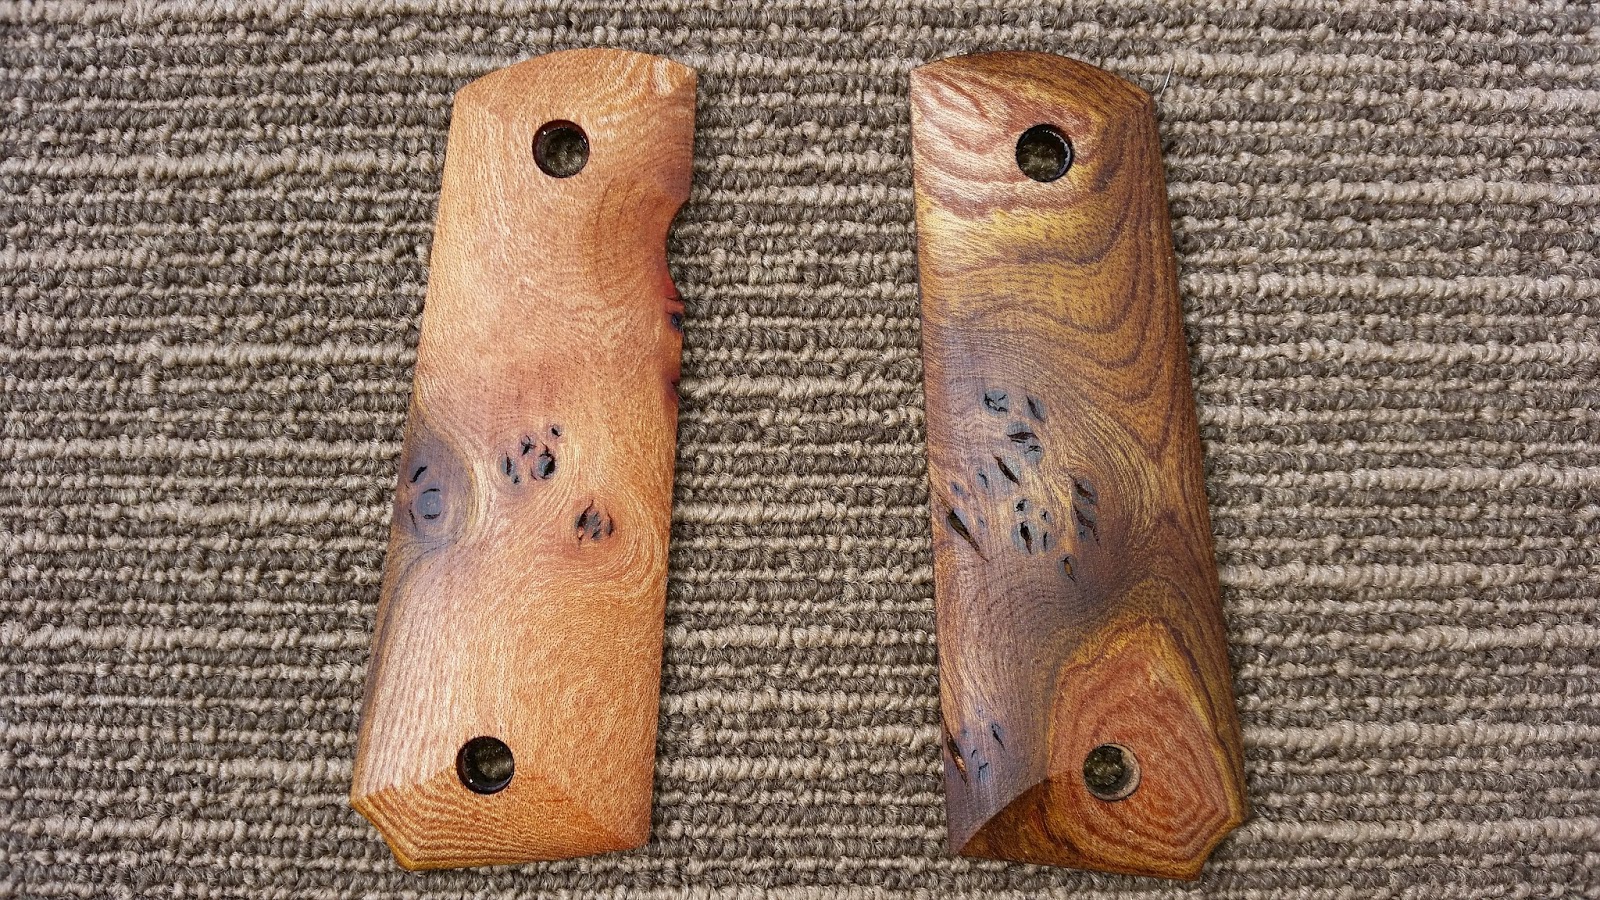
Update: The checkering tools have still not arrived so I made these grips from a very nice piece of Burr Elm.
 |
| Scottish Burr Elm Grips |
 |
| The figuring on this wood is very nice |
 |
| These were also popular. |


