
 |
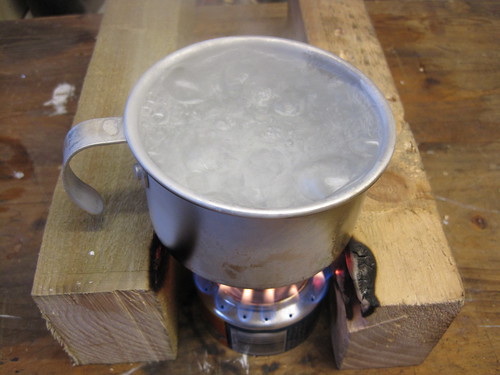
| At a rolling boil |
Penny stoves or Pressurised Jet Alcohol Stoves to give them their proper name are easy to make and very efficient in operation. i.e. You can heat a lot of stuff with very little fuel. They work by heat from a flame causing alcohol fuel to expand in a pressure vessel (the stove). That pressurised fuel escapes through holes and ignites, keeping the flame (and the whole cycle) going.
I generally have one of these in my camping kit as a backup stove. They are small and light and very practical.
Right now my lawyer (Mister Lionel Hutz, AKA Miguel Sánchez, AKA Dr. Nguyen Van Falk) will want me to say do not try this at home. Building and using the stove involves some risk(s). Some of those risks are obvious, such as sharp edges, burny flames, others less so like carbon monoxide poisoning, death, etc,.
There are several versions of penny stoves out there already however, I have my own method (explained below) that takes some of the difficulty out of the process which may be of academic interest to stove heads and ultralight backpackers.
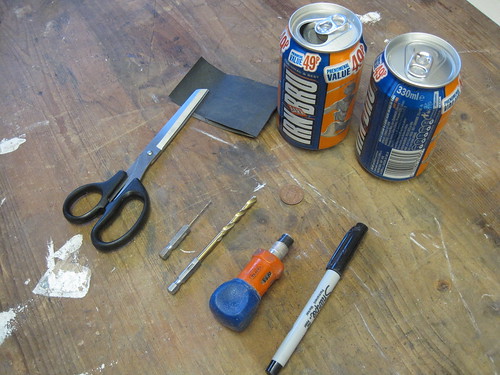 |
| The components and tools |
2. One penny coin. This will become the essential safety valve.
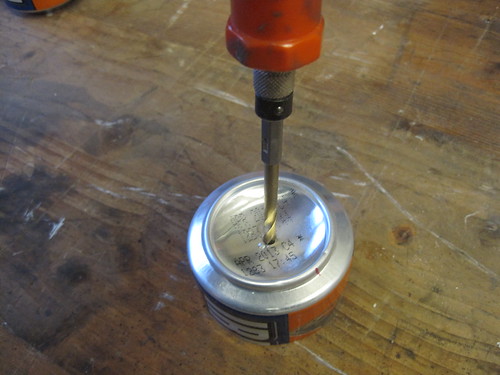
3. Two drills (one 1.5mm the other 6mm), and a hand drill.
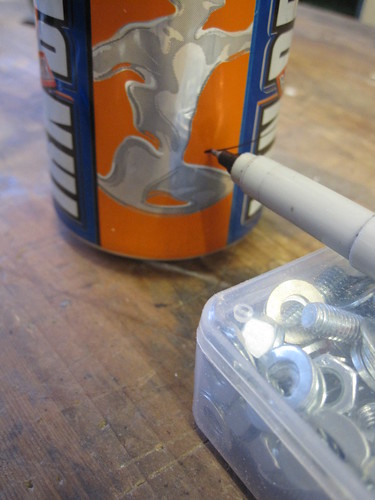
4. An ink marker for marking on the cans.
5. Household scissors for cutting the cans.
6. Very fine sandpaper for buffing the paint off the cans. (optional)
Note there is no ruler, everything was 'eyeballed'. The cans must be identical to ensure a good fit.
 |
| Marking a parallel line approx 40mm (1 1/2 inches) on the empty can. |
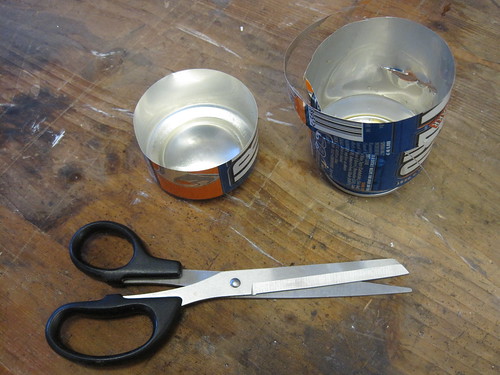 |
| A nice clean cut |
 |
| I could have used a power drill/driver, but a hand drill is up to this job. |
 |
| Gently pressed to fit |
Keeping the can full means that it has enough rigidity to stand this process and it stretches the cut can by acting as a form to make a good enough seal without glue. No need for slits or shims if you are not trying to press one cut can into another cut can and the added bonus of less chance of cut fingers.
I then emptied the full can, drank it (mmmm, burp!) and cut it down to the edge with the scissors.
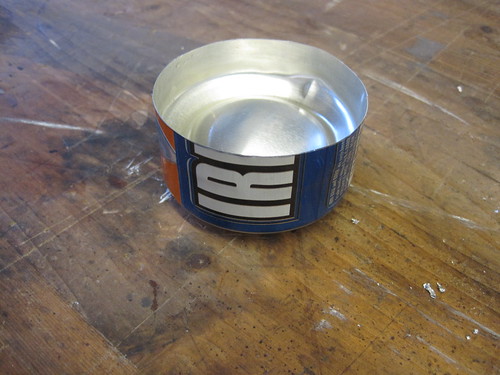 |
| Both cans cut and pressed together, bashed can quality control failure! |
 |
| Look carefully to see the marks |
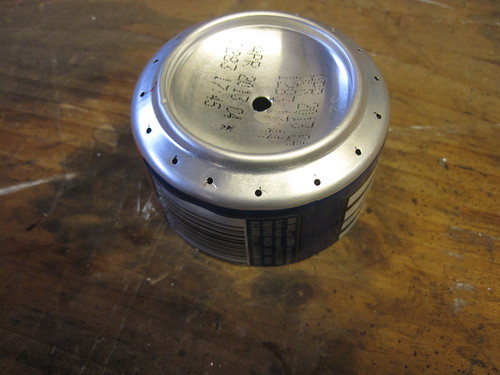 |
| Note that the drilling does not have to be precise |
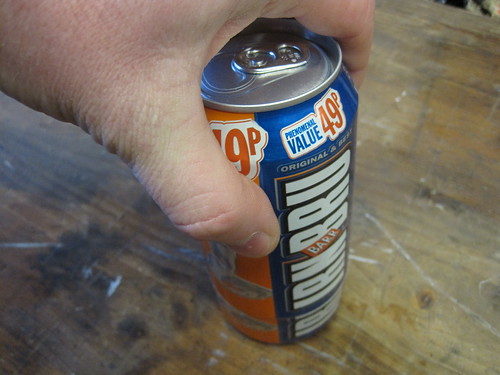
"WTF is Irn Bru anyway?"
Irn Bru is Scotland's "Other national drink" after whisky of course! It has been used for decades as a traditional folk remedy if you drank too much whisky on the night before. It tastes of raw magic, and is made to a ancient druidic recipe, that is still kept secret by the Barr family who make the draught in nearby Cumbernauld.
Continue to part two