
 |
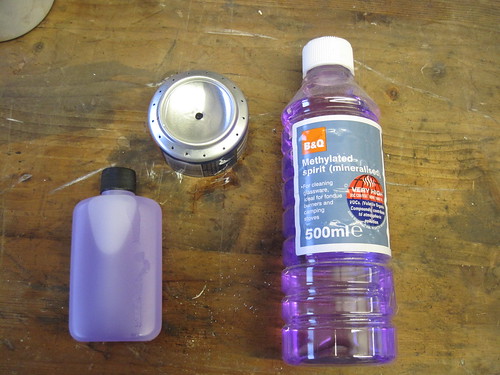
| 100ml of fuel on the left, the stove and the bottle of fuel that I purchase from a local DIY store. |
The 500ml bottle retails for around £6. I don't carry this large bottle, I carry either a 50ml bottle or a 100ml bottle of fuel. I get four refills from the 100ml bottle. Each refill will boil approx 500ml of water from almost freezing.
To use the stove, I first fill it so that the fuel does not come above the large pressure vent hole. When the fuel is just below the vent hole the stove is full.
Next I put a penny over the vent hole.
Then I fill up the dish above the vent hole to the top with fuel.
This is then lit, the heat of it burning off will vaporise the fuel inside the stove turning it to a gas jet that will be ignited. If you listen carefully during priming you can hear the alcohol starting to vaporise. I had to prime this stove twice, because it was so cold. I should have also put the stove in a dish to catch the overspill.
I have been asked by a friend from T&TTT to explain the priming process again:
Here is how I primed my stove:
1. I filled the cold stove with fuel making sure it did not fill above the pressure vent hole.
2. I put the penny over the hole.
3. I filled the dimple up to the rim with fuel.
4. I lit the fuel in the dimple.
As the fuel in the dimple burns (for about two minutes), it heats the fuel below it in the stove turning it into a gas that will eventually come out through the burner holes and ignite.
I have on occasion had to repeat steps 3. and 4. one or two times, checking carefully each time that there was no flame coming from the stove before refilling the dimple. I do not need to do anything to or with the penny.
When it catches it is obvious and is often preceded by gaseous hissing noises. (From the stove not me!)
This very short video show the process at step 3.
I should have put the stove in a dish or lid to catch the overspill. :-/
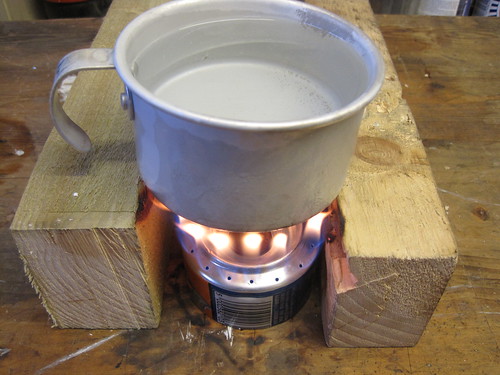 |
| Poorly improvised pot stand :( |
Unfortunately I forgot to arrange for a potstand, so I improvised with some wood, which covered my cup in soot!
However only four minutes later my water starts to boil...
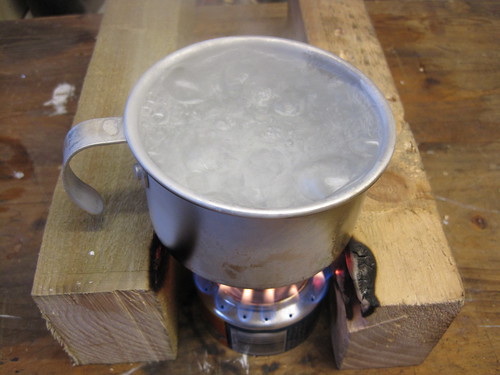 |
| A nice rolling boil, time for tea. |
After extinguishing the flame and allowing the stove to cool, I noticed that I had use around half of the fuel.
That's it, thanks for reading.
p.s. I have now made a potstand from aluminium sheet.