
- be easy to build
- fit a range of rifles from short carbine to long rifle size
- be stable
- fit in a 460mm(18 inches) space.
Read all the way to the bottom if you are interested in one of these racks
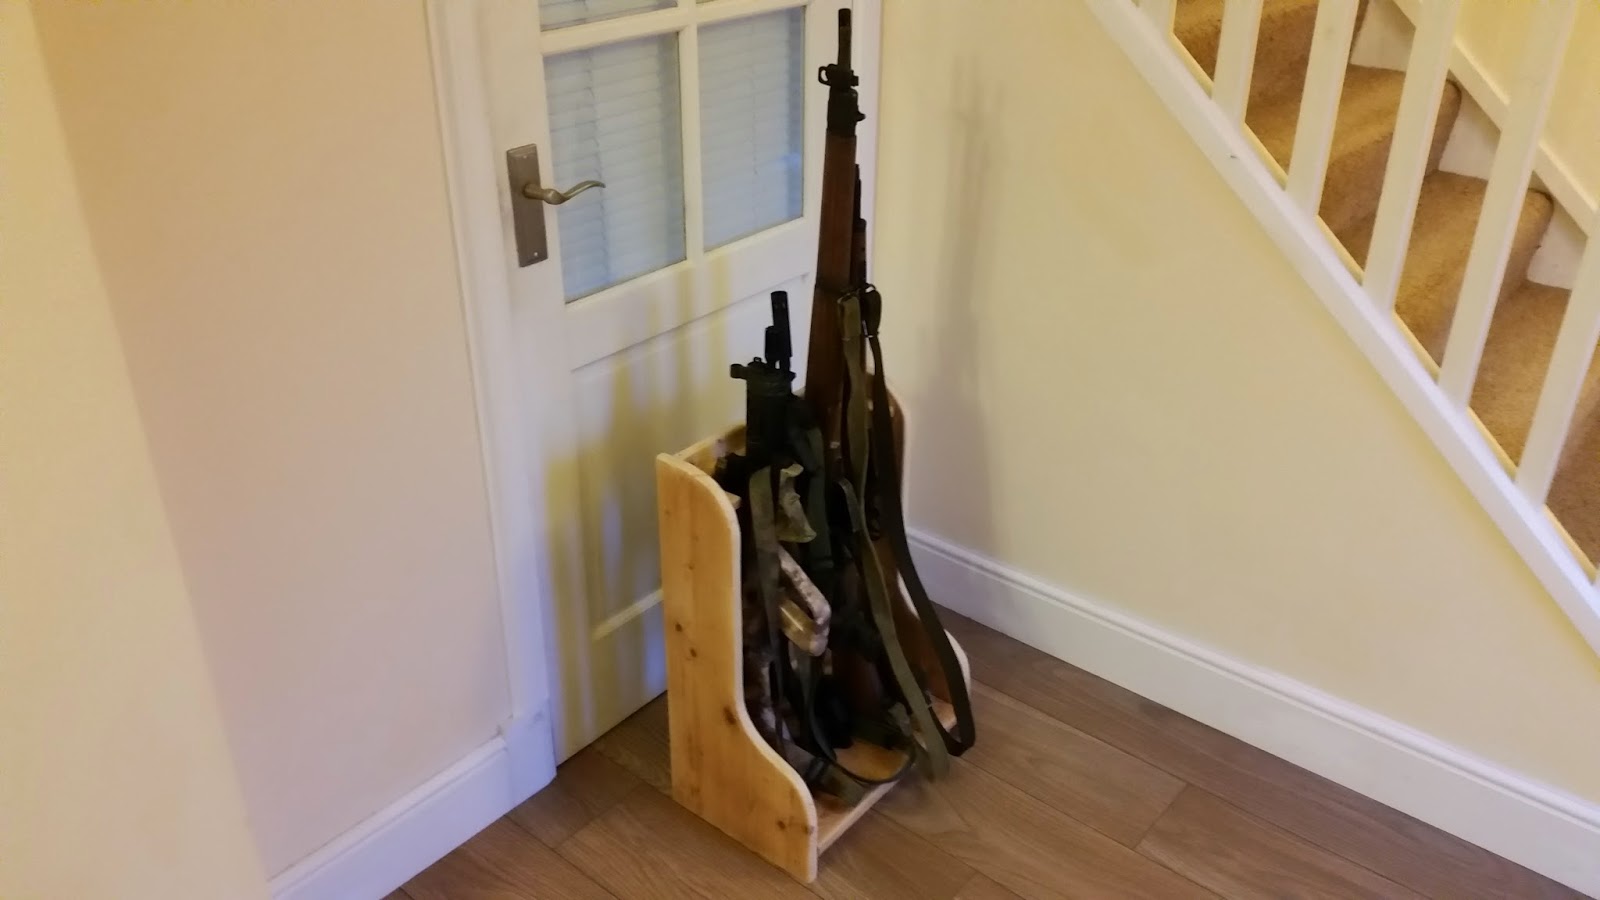 |
| My finished compact rack |
 |
| The reclaimed shelving was quite grubby |
 |
| A part sanded board |
 |
| Biscuit jointer, a biscuit and the joint |
 |
| The biscuit joints allow it to be test assembled without glue |
Ok, I am happy with the design, now for the glue-up and clamping after checking for square. Note that I used "Gorilla Glue". This was an experiment, usually I would use a PVA based glue for furniture. On reflection, if I were to build another I would go back to a PVA based glue. I have now read several reports where PVA glue beats expanding polyurethane glues like Gorilla Glue, hands down in almost all situations. Click here to see a video of PVA versus Gorilla Glue.
 |
| I never have enough clamps |
Here is the finished piece. Is it stable? Yes it is! I am able to pick up the entire loaded rack and move it around without the rifles all toppling around. Does it take a range of rifles? Yes it does!
 |
| L to R: AUG Carbine, SIG 552, XM177e1, M14, Lee Enfield No4. |
Was it easy to make? Yes, with the correct tools, particularly the biscuit jointer. Other tools I used are my table saw, jigsaw, table router and round-over bit a mallet and some clamps.
 |
| Small but mighty |
Does it fit the 460mm (18 inch) space? Yes it does with a size of 460mm wide (18 inches), 300mm deep (12 inches) and 610mm tall (24 inches)
 |
| In situ |
In conclusion, I think the design worked really well but if there were a next time there are only two things I would do differently:
- I would use a PVA glue and not a Polyurethane based glue, and
- I would not use a reclaimed board, I would build it from nice furniture grade Birch plywood.
If you are interested on building your own, if I get enough people wanting to purchase a self assembly kit to make it financially feasible I may make a few self assembly kits available. All you would need to do is glue it up and paint. I would do all the cuts, jointing and supply the biscuits.
Update: I have added another blog post with relatively detailed technical drawings here.
Otherwise, if a self-assembly kit might interest you please click here.