
A good look around the bowels of the internet drew a blank. He couldn't source such a thing. I had been thinking about using MDF as one time moulds for pewter casting and wanted to see what could be achieved, so I thought this might be a nice experiment.
In case you have been on the off-world colonies for the past decade or so, you have missed the video game series that is Hitman.
The game revolves around Agent 47 who unsurprisingly goes around killing people, often with a sniper rifle. So last Halloween, a local airsofting field had a fancy dress charity airsoft event, and my friend came as a very convincing Agent 47. Being the kind of guy who likes detail, he wanted the badge to complete his rifle case.

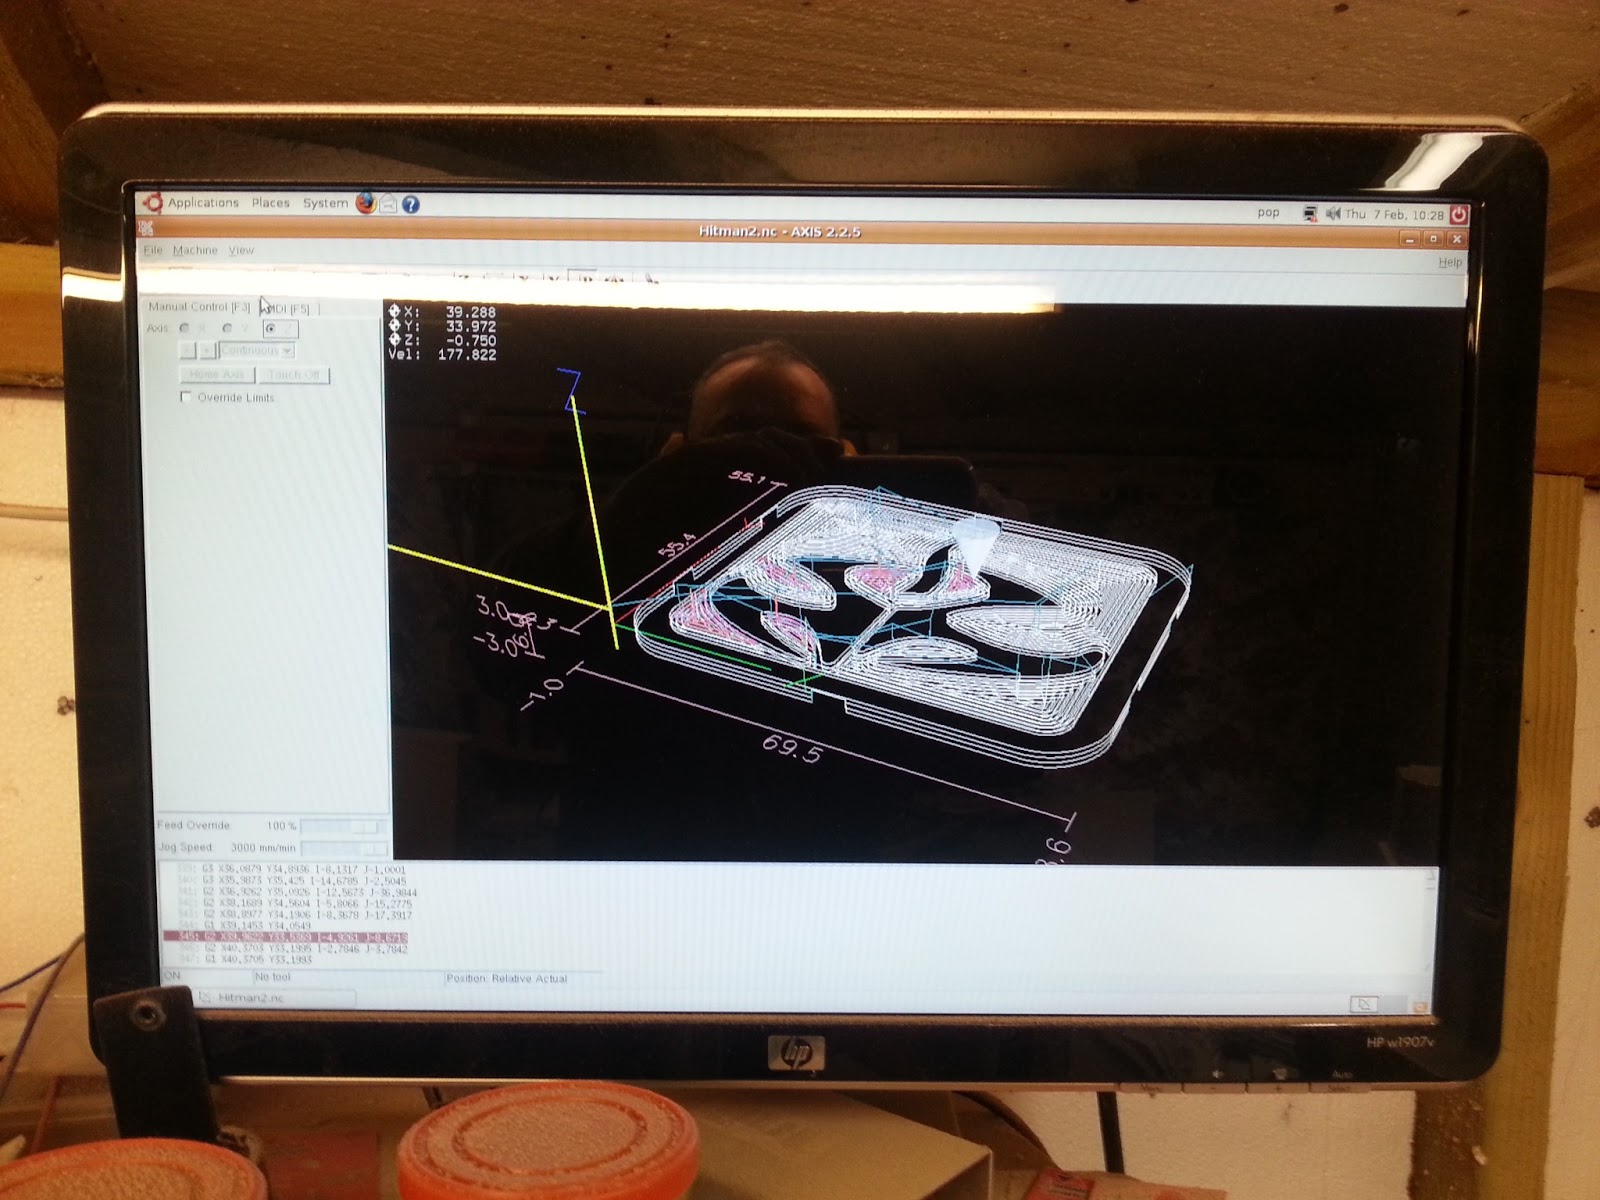 |
| The logo loaded into EMC2 |
 |
| The finished MDF mould |
 |
| Casting the badge |
 |
| Removing the part from the mould |
Here is the badge completely demoulded with the ingate and outgate still attached...
 |
| Quite rough, I think! |
I cut off the ingate and outgate with a hacksaw.
Sanding down the front face with progressively finer wet and dry paper, polishes up the raised areas to a nice finish...
 |
| Finished! The tape measure is for scale. |
Using P80, P180 and then P280 and a lot of elbow grease brought the face up to a nice smooth satin sheen.
Noticed the deliberate mistake yet? (scroll down)
.
.
.
.
.
I forgot to horizontally flip the image, so it is not correct. Not to worry pewter can be remelted. As I write I am currently cutting the mirror image of this on the CNC router and will recast and post the images here.
Doh!
Update:
I recut the mould in the correct orientation, not in MDF this time but in maple, and the difference is significant. The maple mould required much less finishing and the piece made is of finer quality.
Below you can see the MDF cast piece on the left and the maple cast piece on the right.
During all that hand finishing I actually sanded three of my fingers, which now have distinctly flat sides. You would think I would notice then pain, but I was too engrossed in working on the piece. Only when I saw blood did I think there might be a problem. Doctors say I might just pull thorough! ;)

To finish off, here is a movie of the two pieces catching the light...
.
.
.
.
.
I forgot to horizontally flip the image, so it is not correct. Not to worry pewter can be remelted. As I write I am currently cutting the mirror image of this on the CNC router and will recast and post the images here.
Doh!
Update:
I recut the mould in the correct orientation, not in MDF this time but in maple, and the difference is significant. The maple mould required much less finishing and the piece made is of finer quality.
Below you can see the MDF cast piece on the left and the maple cast piece on the right.
 |
| Left bad, right good! Note the cleaner edges too! |

To finish off, here is a movie of the two pieces catching the light...
I have sprayed the correct piece matt black then I will sand it again to reveal the raised areas in bare metal. Then it is finished!


 |
| photo courtesy G Mason. (click image to zoom) |
I'm quite happy with the result, hopefully he will be too. As an experiment I thought it worked well, but maple definitely makes a better mould than MDF. Maybe I will make my beloved something for Valentines Day using this technique, but what? I better get my finger out, Valentines Day only one week away!
Thanks for reading! :D Feel free to comment here.


